3D printed parts
Step 1
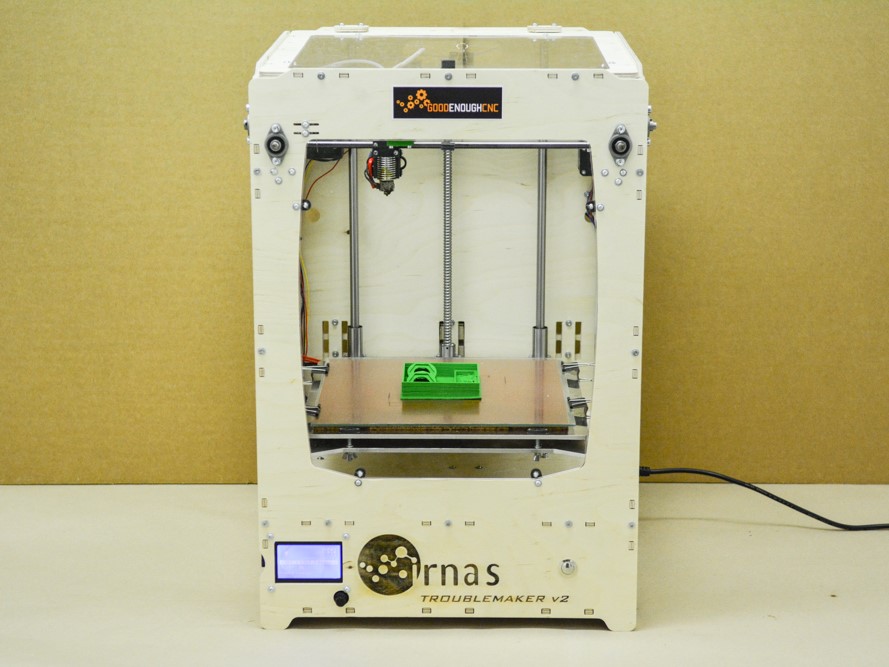
Use a 3D printer to print plastic parts needed for construction of CNC plasma cutter. You can find all the necessary files on Github.
We used Troublemaker – our open source 3D printer.
Step 2
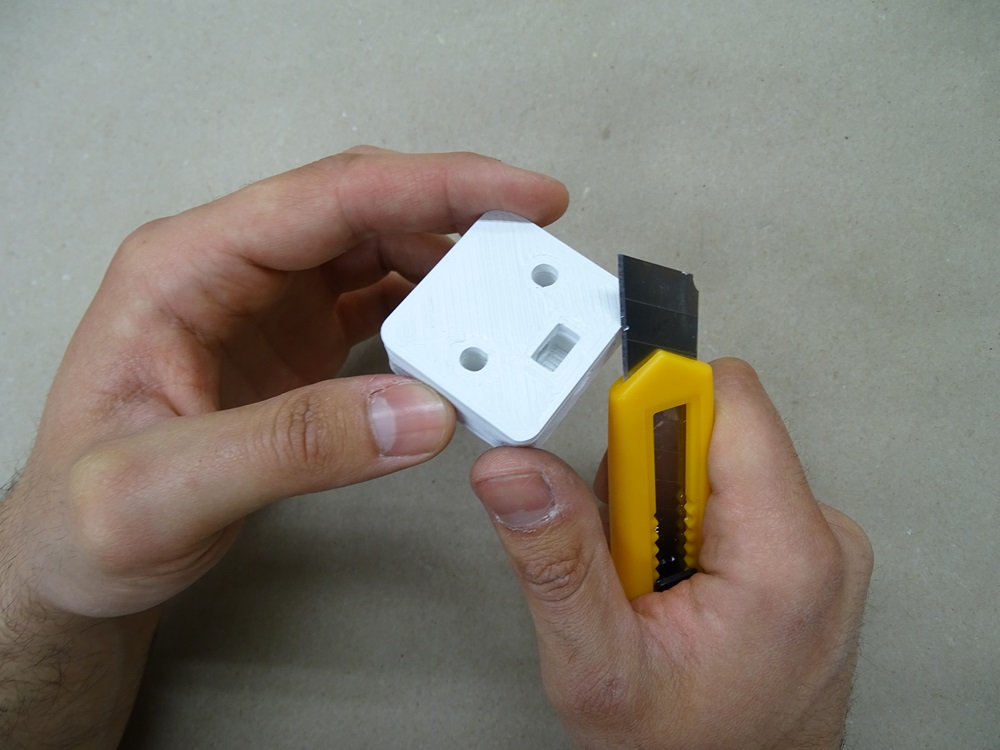
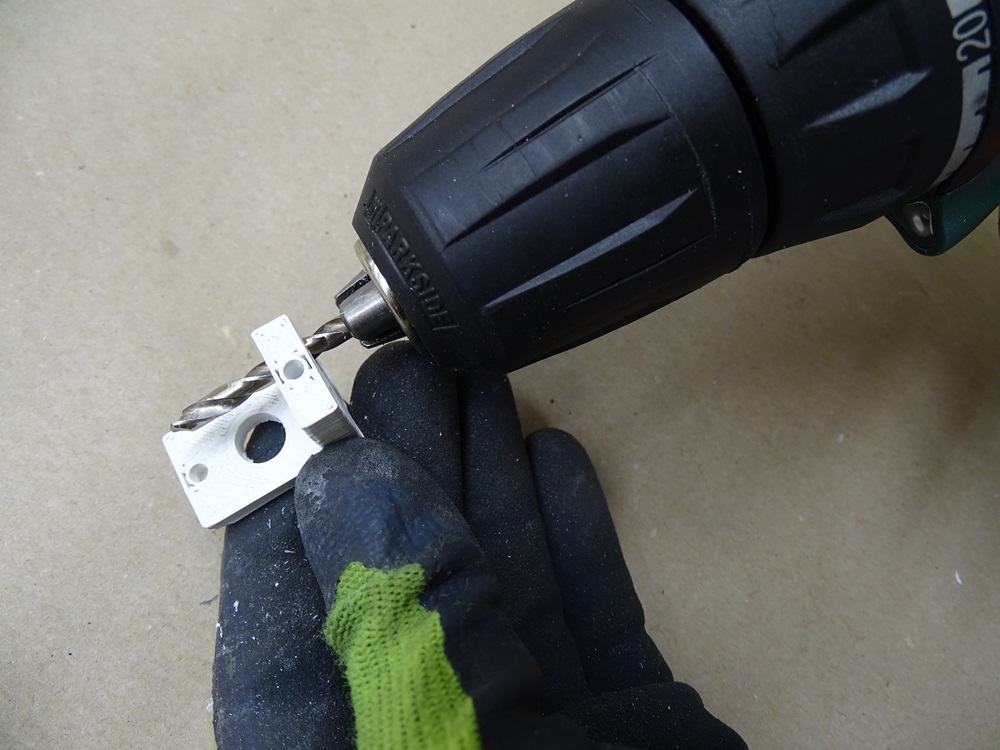
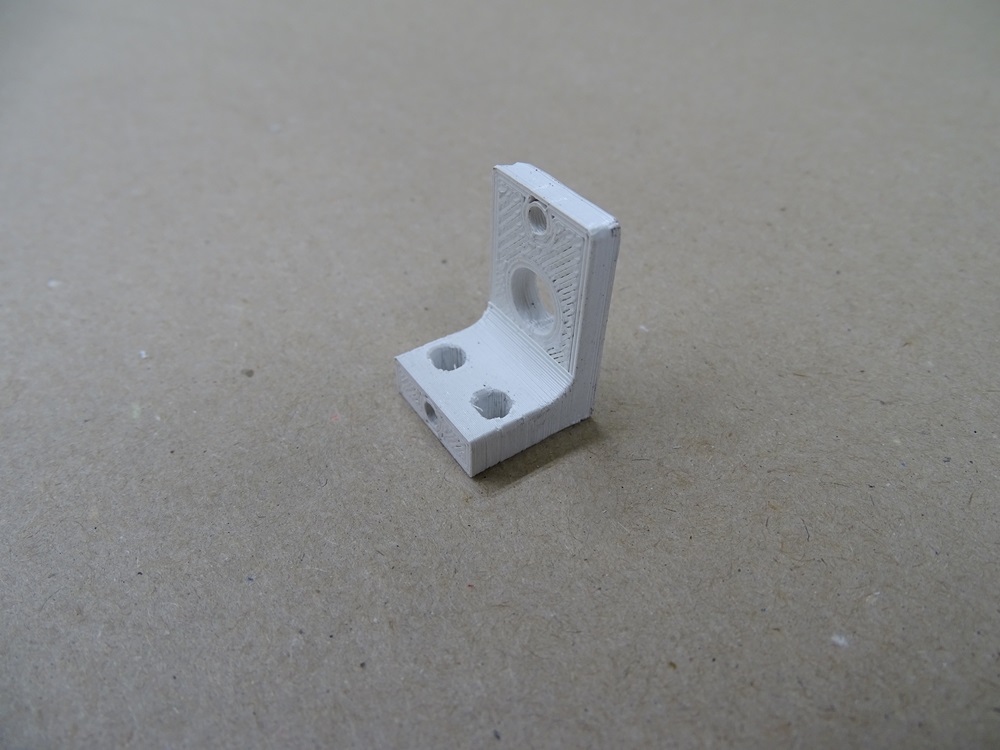
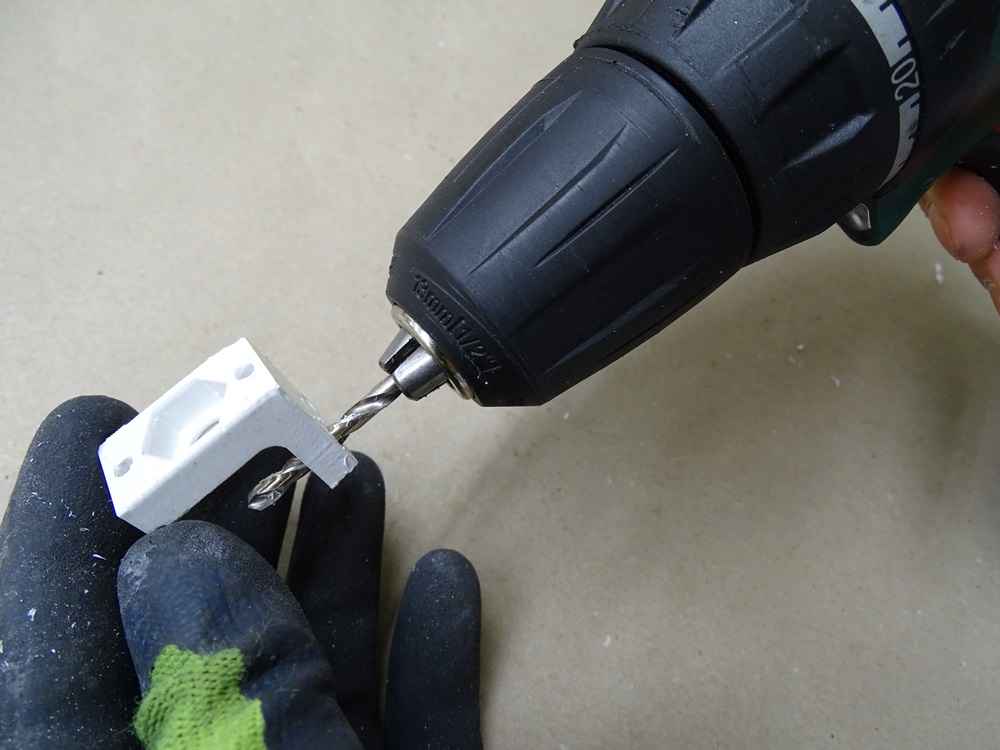
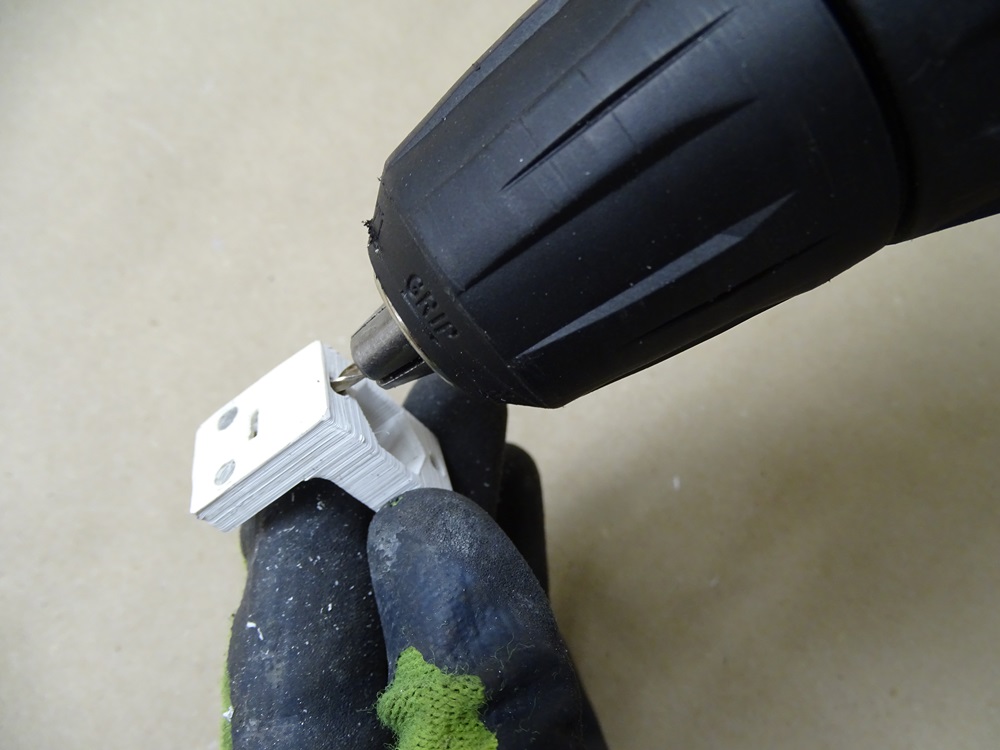
Use a knife or a scalpel to cut away excess plastic on the edges of the printed parts. Also, redrill all the round holes.
Step 3
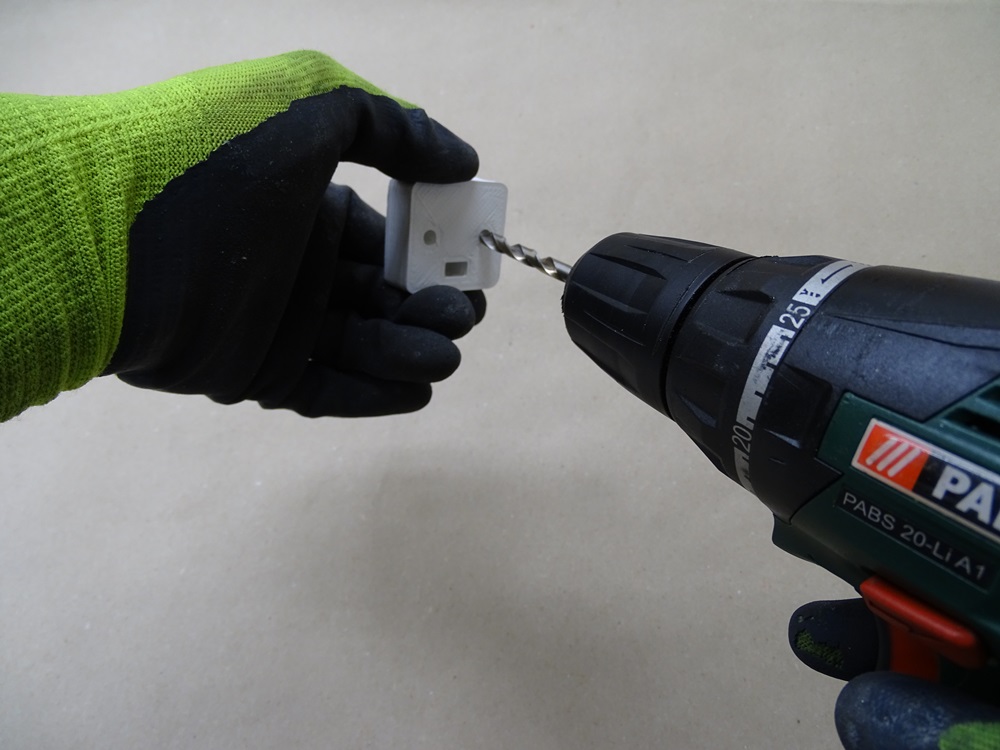
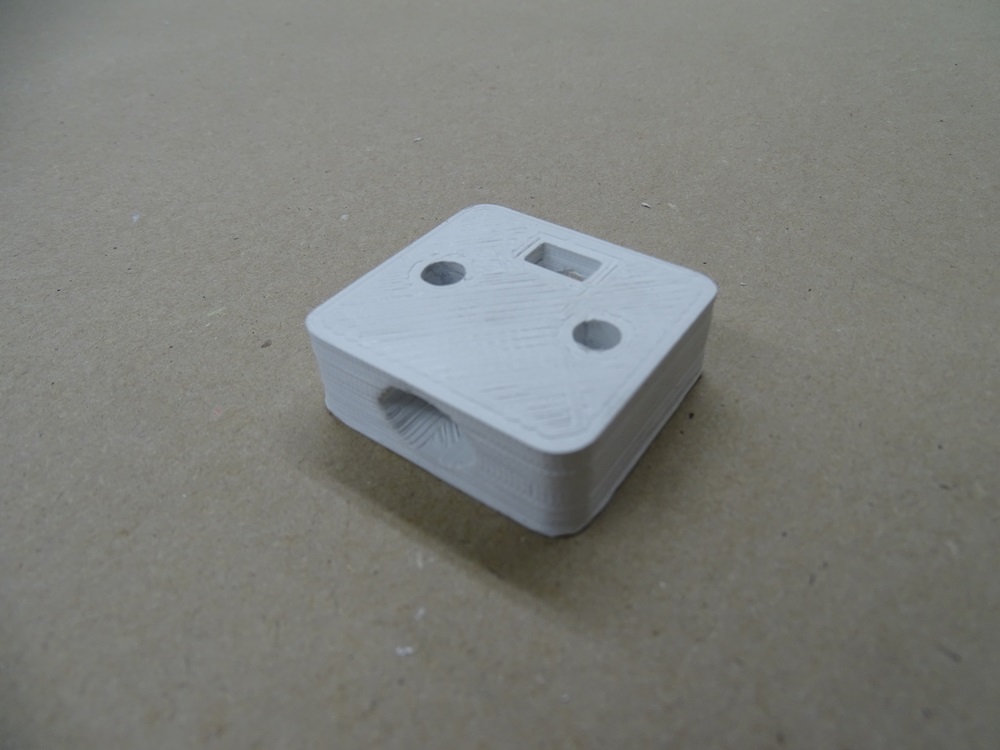
Tightener – Outer – redrill all the three holes with 6 mm drill.
Parts needed:
- 6x Tightener – Outer
Step 4
Tightener – Inner
Parts needed:
- 3x Tightener – Inner
Step 5
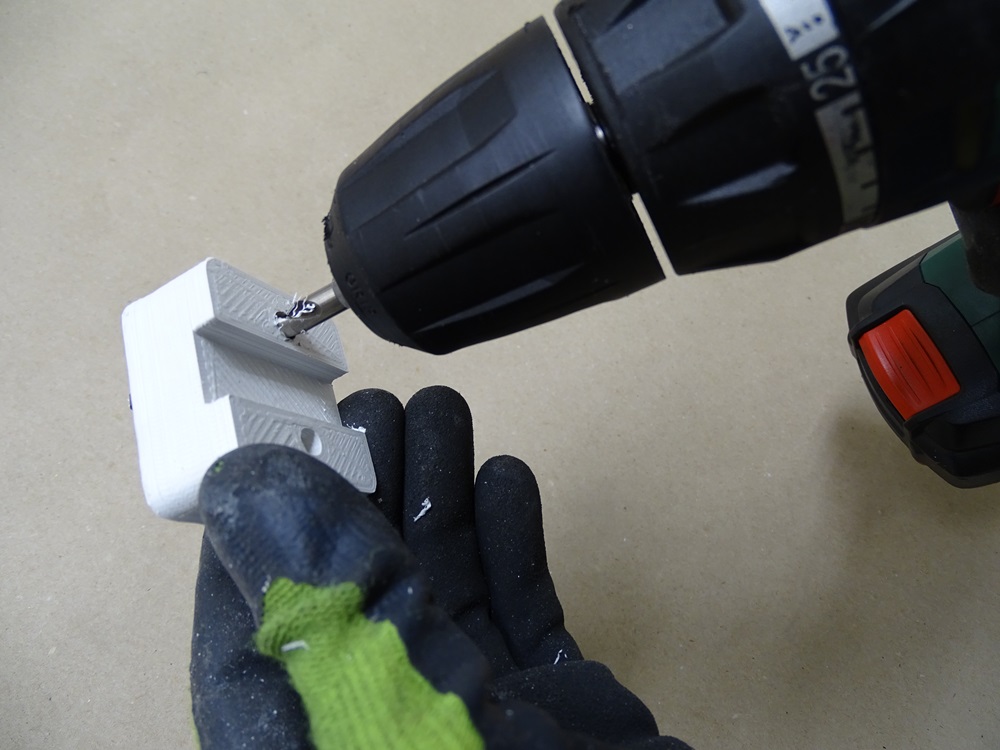
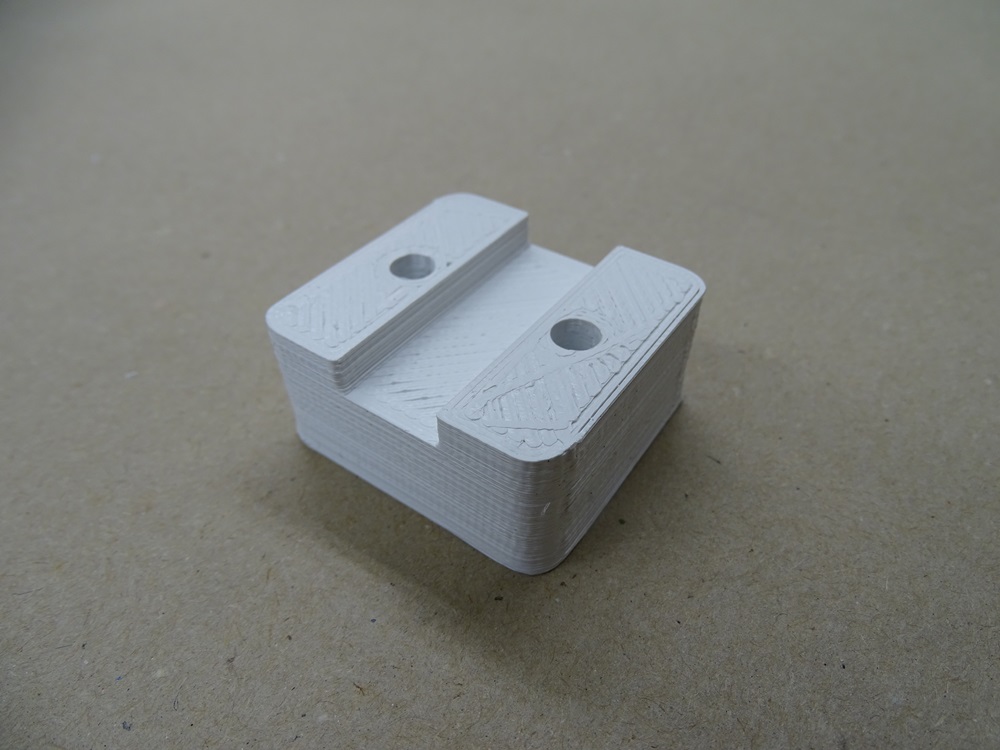
Tightener – Spacer – redrill two holes with 6 mm drill.
Parts needed:
- 2x Tightener – Spacer
Step 6
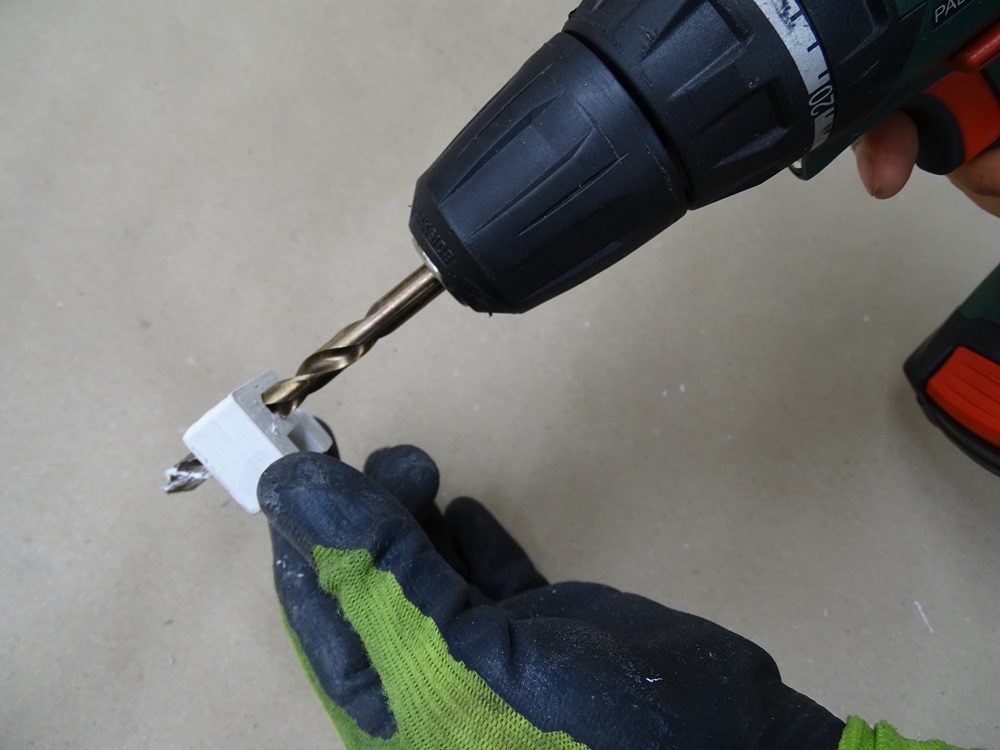
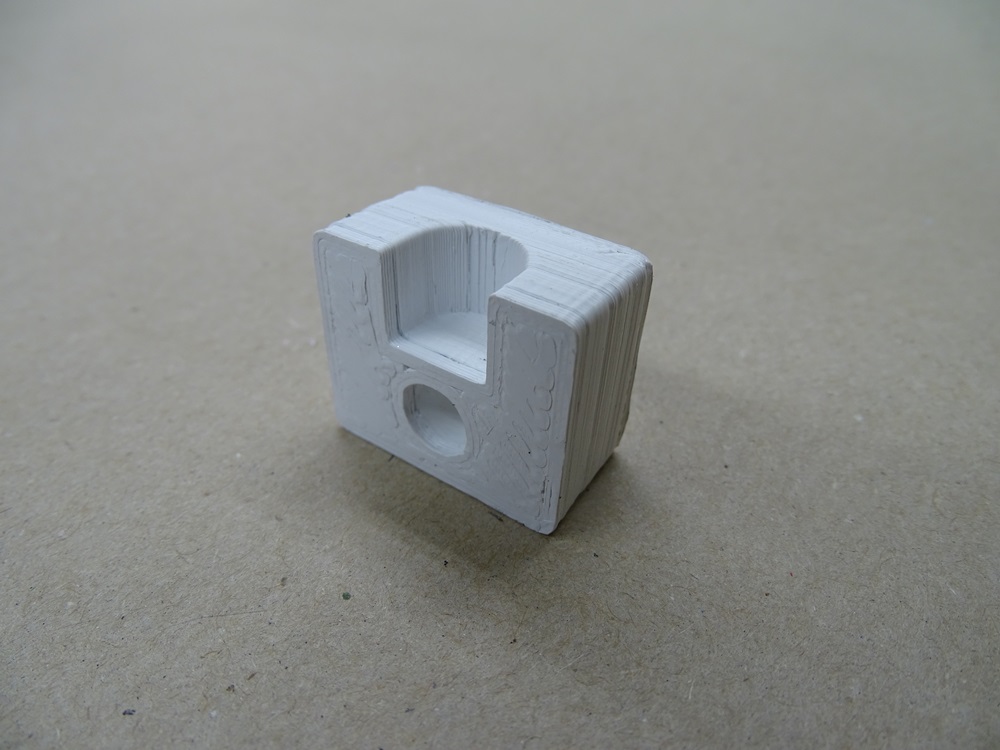
Linear guide mount – redrill the hole with 8 mm drill.
Parts needed:
- 4x Linear guide mount
Step 7
Nut casing – Upper – redrill two 4 mm holes and two 3 mm holes.
Parts needed:
- 1x Nut casing – Upper
Step 8
Nut casing – Bottom – redrill two 4 mm holes and two 3 mm holes.
Parts needed:
- 1x Nut casing – Bottom
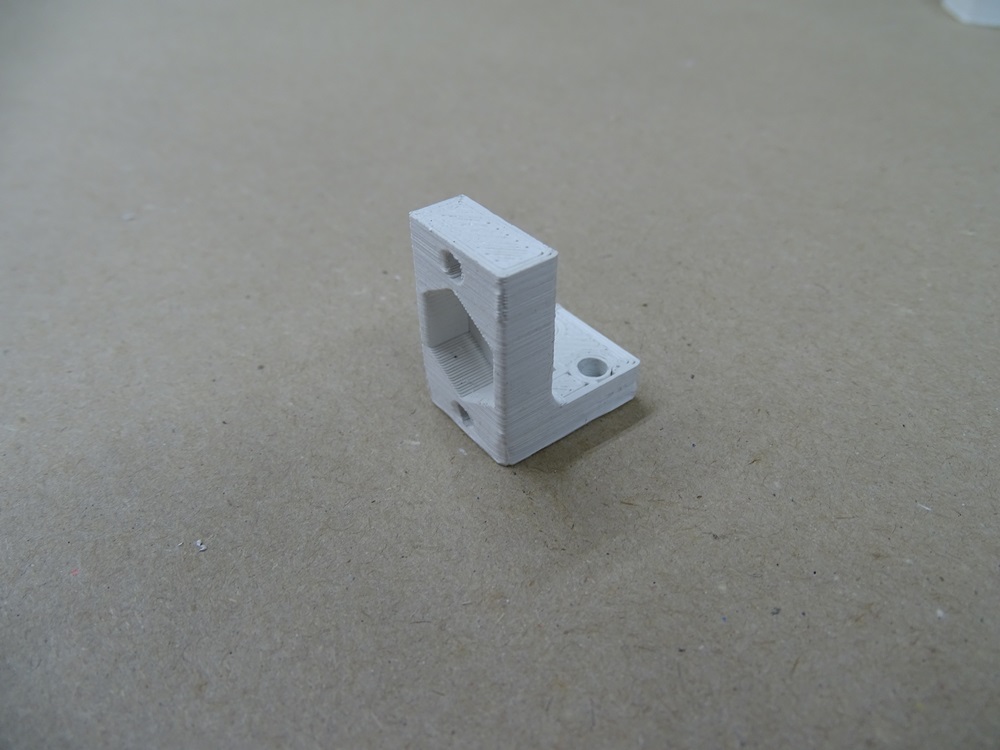
Step 9
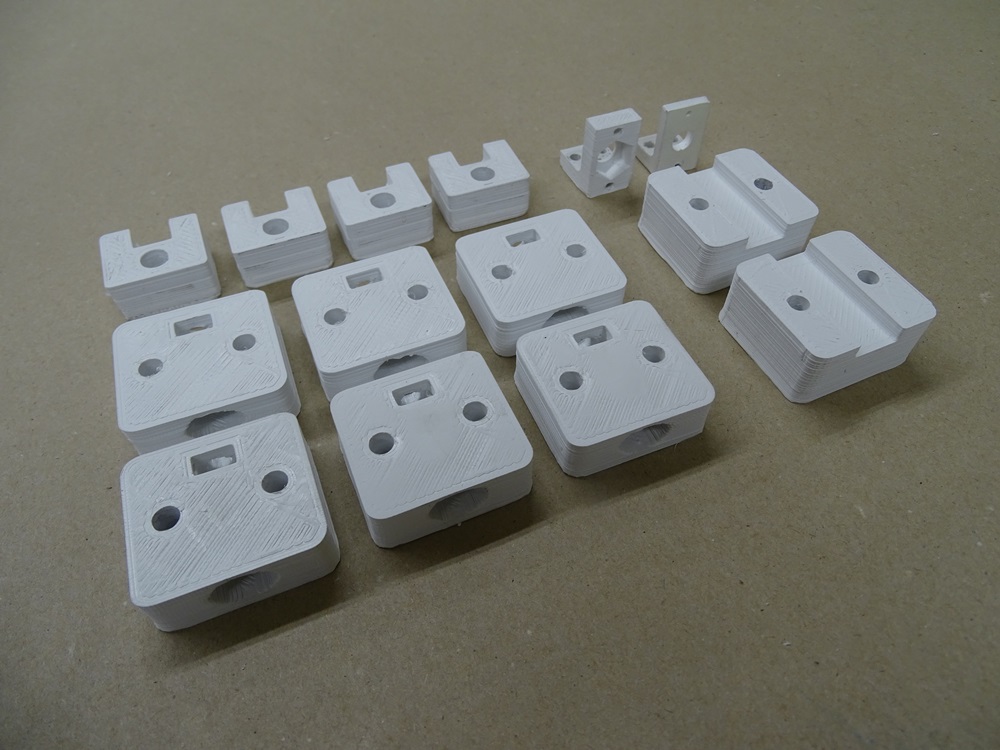
All 3D printed parts needed for complete assembly.
Updated less than a minute ago
