Tightener assembly
Step 1
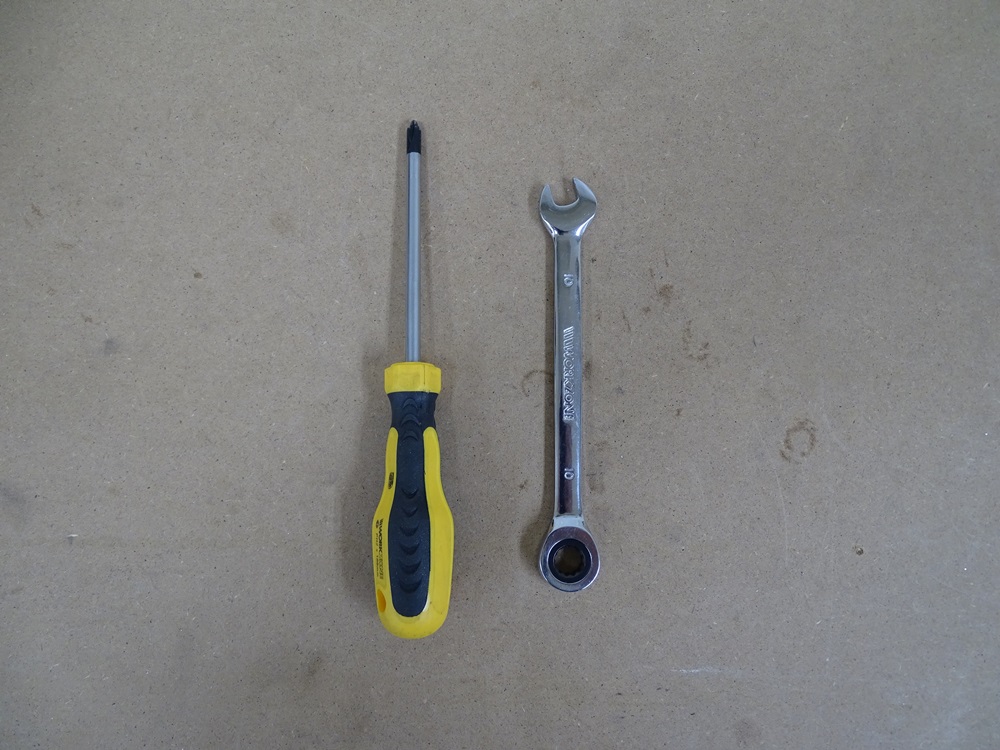
In the picture there are all the necessary tools for Tightener assembly.
Tools needed:
- Phillips screwdriver
- Spanner - size: 10
Step 2
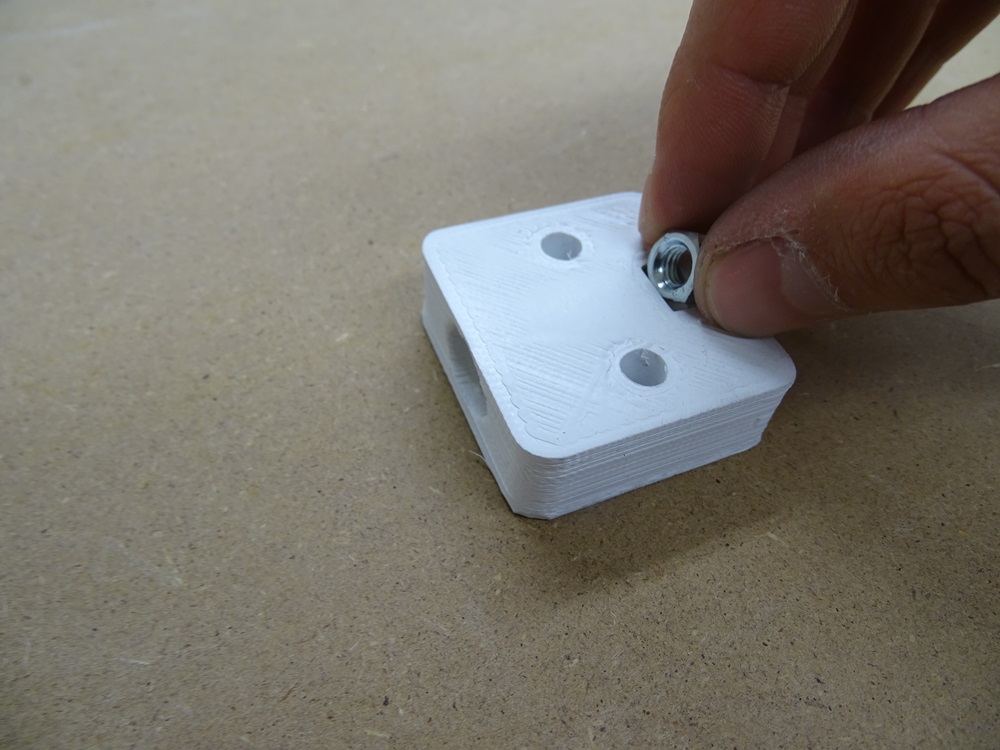
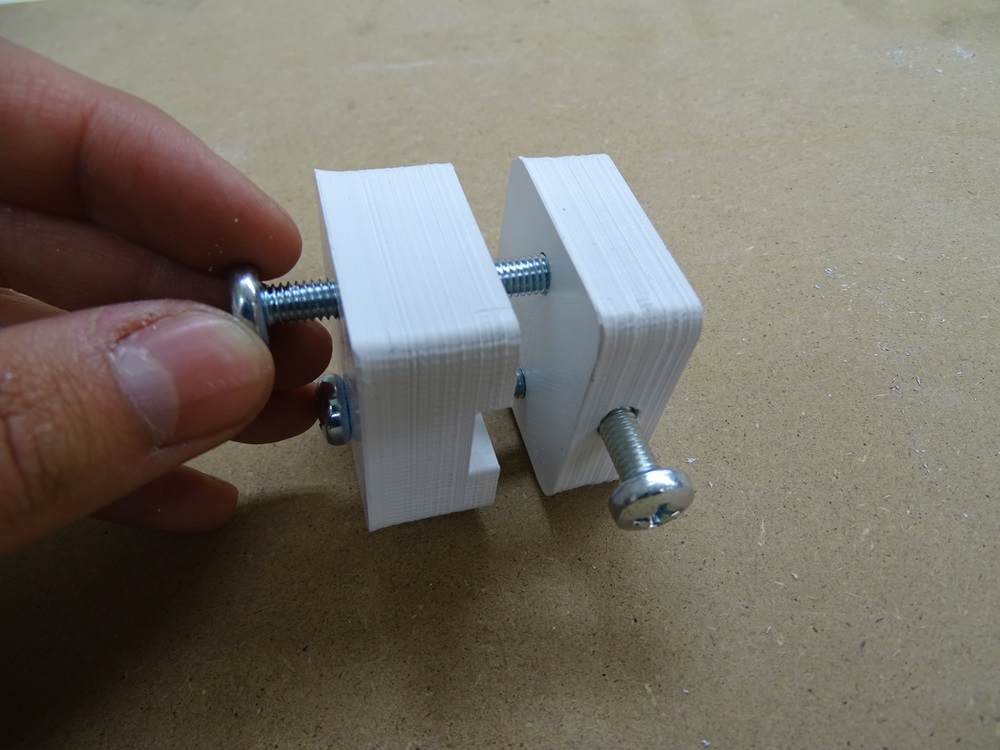
Put DIN 934 M6 hex nut into the nut bracket in part Tightener – Outer. Make sure it fits tightly, if not try cutting excess plastic on edges.
You need to complete this step for three Tighteners only.
Parts needed:
- 6 x Tightener – Outer
- 3 x DIN 934 M6 hex nut
Step 3
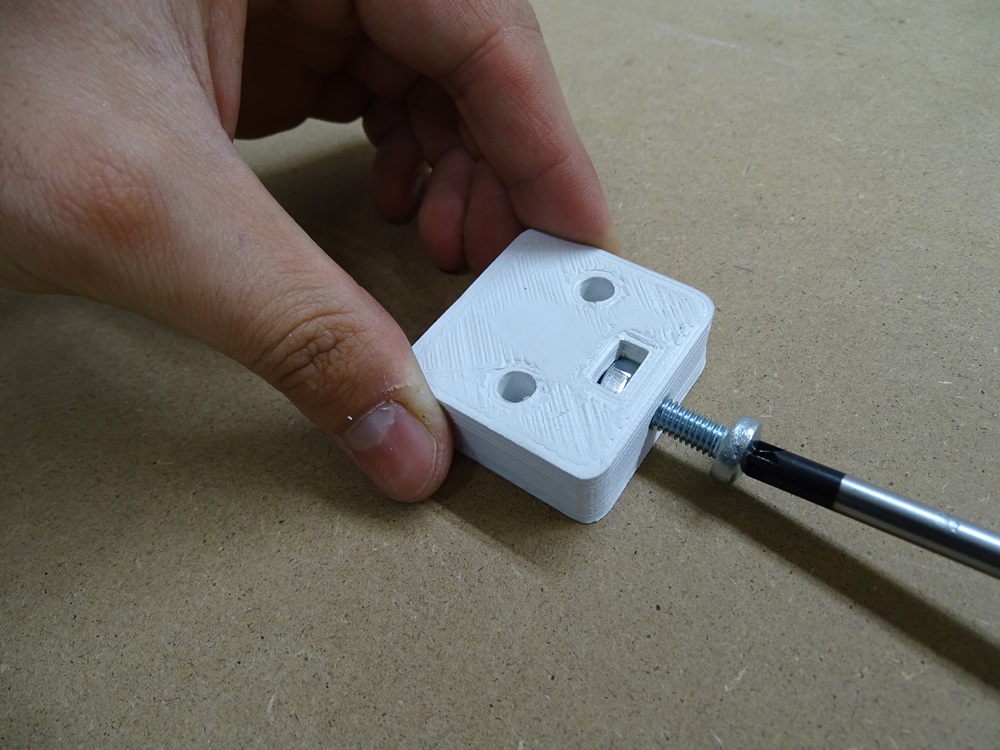
Screw in DIN 7985 M6 x 25 bolt into nut from previous step.
You need to complete this step for three Tighteners only.
Part needed:
- 3 x DIN 7985 M6 x 25 bolt
Step 4
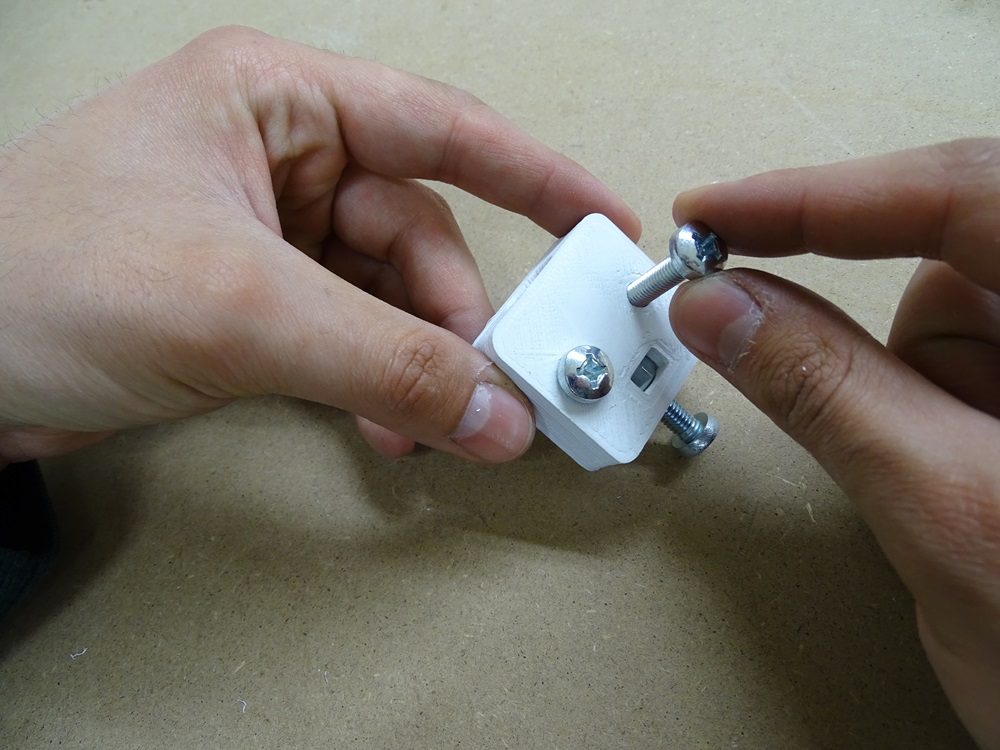
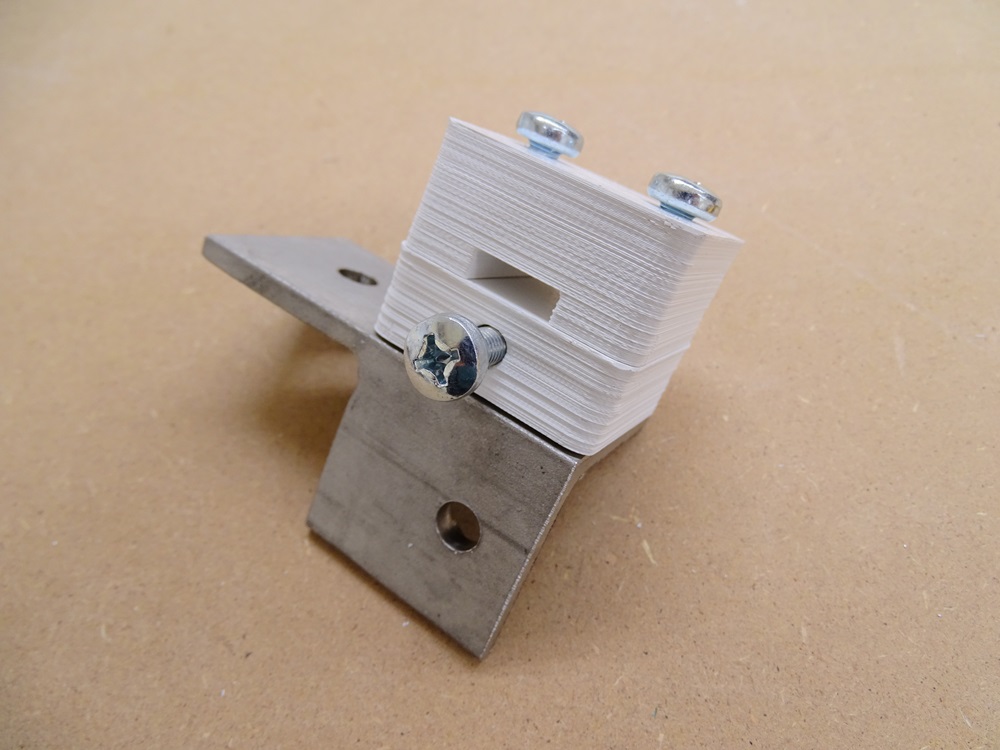
Put two DIN 7985 M6 x 25 bolts in the two remaining holes on part Tightener – Outer as shown in the picture.
Skip this step for the two Tighteners on X axis.
Parts needed:
- 8 x DIN 7985 M6 x 25 bolt
Step 5
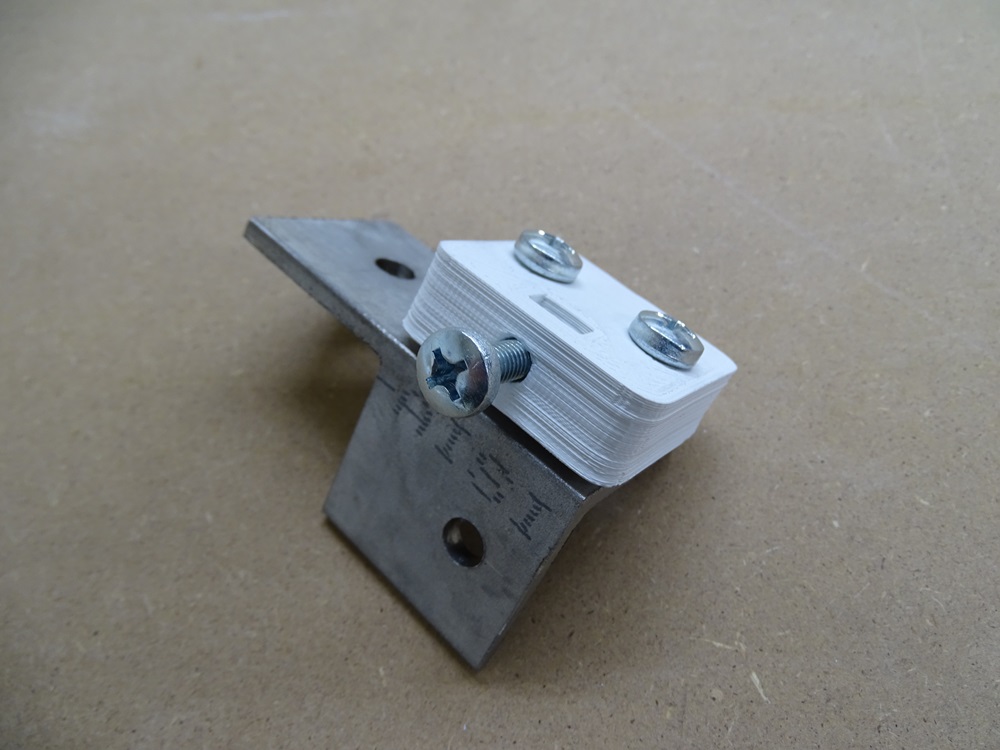
Screw the part Tightener – Outer on the bracket for tighteners with DIN 934 M6 hex nuts.
When screwing - don't screw it tightly, leave 2 mm large gap for mounting of the timing belt later on the in assembly process.
Parts needed:
- 8 x DIN 934 M6 hex nut
Step 6
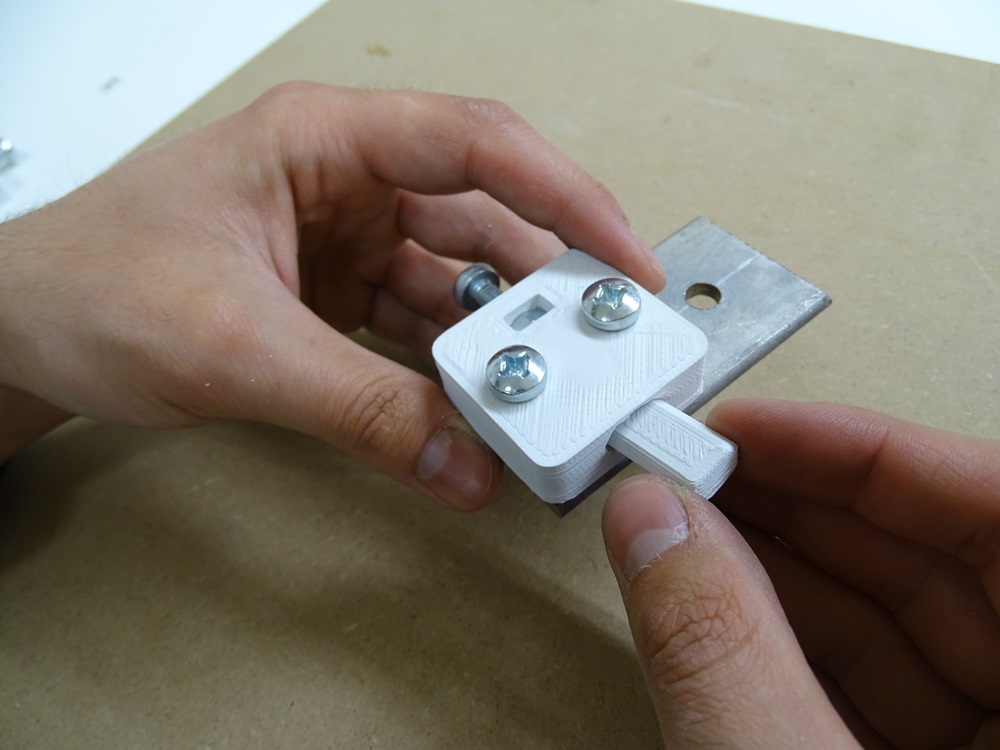
Put printed pin (part Tightener – Inner) in the hole on the part Tightener – Outer.
This step is needed for three Tighteners only.
Parts needed:
- 3 x Tightener – Inner
Step 7
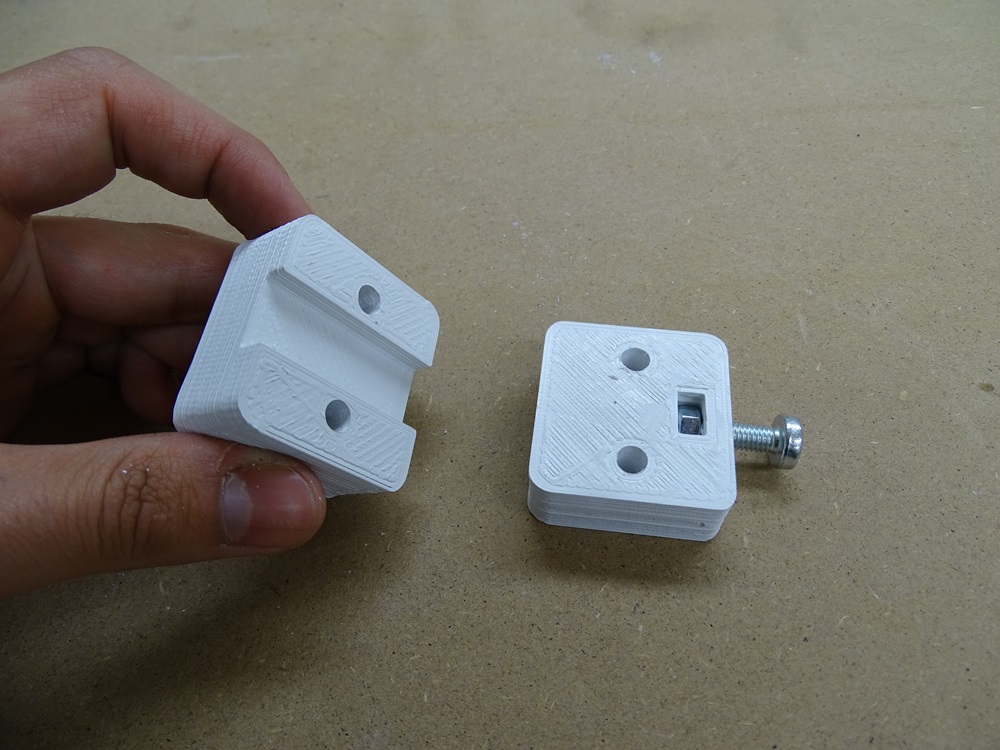
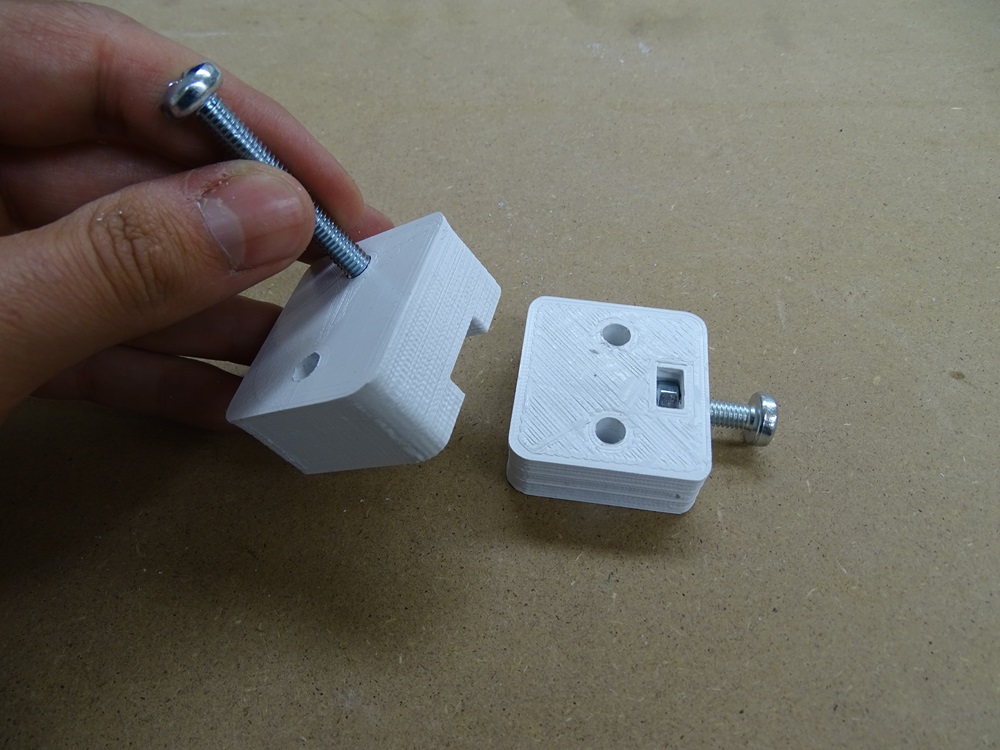
Two tighteners that are holding the timing belt for X axis have additional printed part (Tightener – Spacer) mounted on them. Take part Tightener – Spacer and Tightener – Outer and put DIN 7985 M6 x 50 bolts through both holes on both parts, so that they fit together as shown on the picture. All other steps are the same as in previous steps.
Make sure that at least one of these two tighteners have tightening mechanism (pin and bolt through inserted nut).
Parts needed:
- 2 x Tightener – Spacer
- 4 x DIN 7985 M6x50 bolt
- 4 x DIN 934 M6 hex nut
Step 8
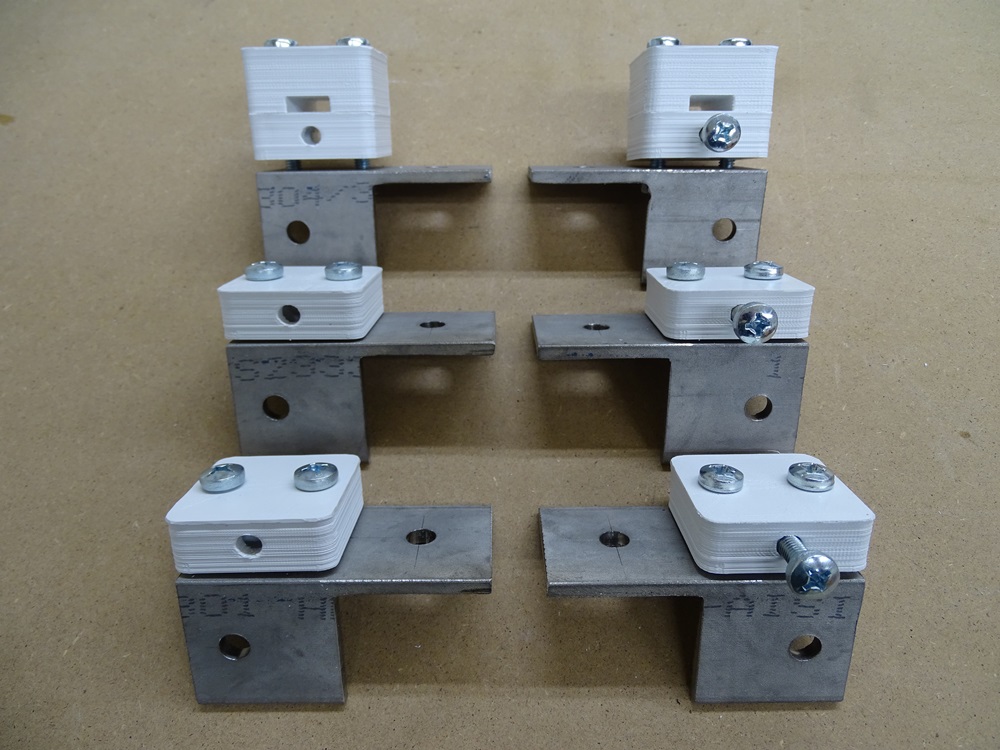
At this point you have all six Tightener assembled - three left and three right Tighteners.
Updated less than a minute ago
